


Being able to change the style of font can make your document more interesting. Different styles of text such as bold or italics can make text stand out. Underlining can be useful for headings.
This guide explains how to make text bold, italic or underlined in Microsoft Word 2010. Earlier versions of Word will use similar steps or concepts.
You’ll need:
- A computer with Microsoft Word installed.
Follow these step-by-step instructions to format text in Microsoft Word
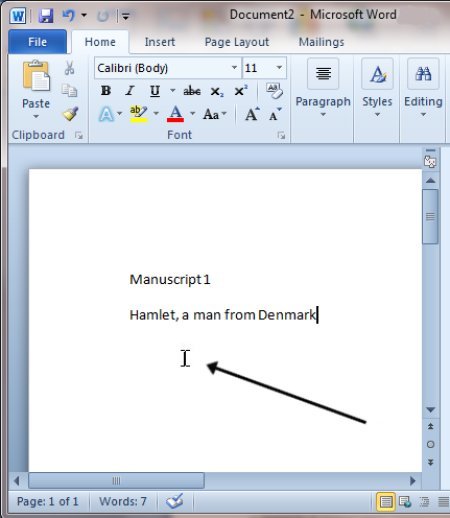
Step 1: Open an existing Word document or start a new document and type your text.
Step 2: If you’d like to change some of the text that you’ve already typed to a different font, it will need to be selected or highlighted with the mouse first. When the mouse pointer is moved over a text area, the pointer will change from an arrow to a ‘text select’ or ‘I-beam’ icon.
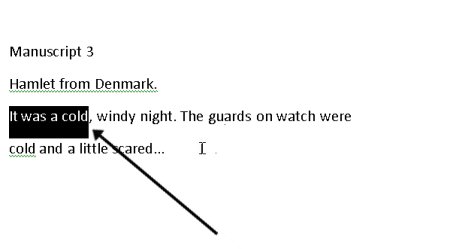
Step 3: Select the text that you wish to edit or change the formatting.
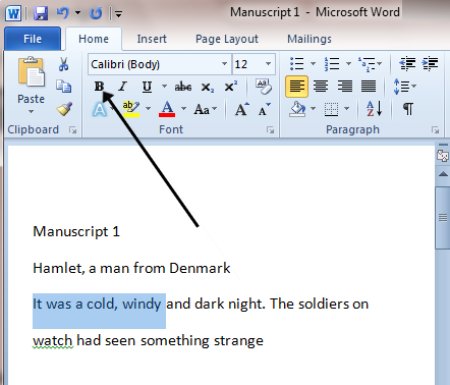
Step 4: To change the selected font to bold, click B in the formatting ribbon at the top of the document.
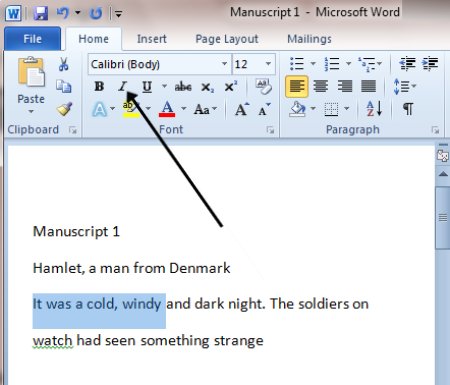
Step 5: To change the selected font to italics, click I in the formatting ribbon at the top of the document.
Step 6: To change the selected text so that it’s underlined, click U in the formatting ribbon at the top of the document.

Step 7: It’s also possible to change selected text using a combination of keyboard shortcuts, which some people find easier than using the mouse.
- To make text bold, select and highlight the text first. Then hold down Ctrl (the control key) on the keyboard and press B on the keyboard.
- To make text italic, select and highlight the text first. Then hold down Ctrl (the control key) on the keyboard and then press the I on the keyboard.
- To underline text, select and highlight the text first. Then hold down Ctrl (the control key) on the keyboard and then press the U on the keyboard.
This guide was last updated on May 2022