


If you’ve written a bestseller or created a newsletter, you’ll probably want to save it somewhere so that you can get to it again for printing or sending by email. You may also have started a document but want to finish it off later.
This guide explains how to save a document in Microsoft Word Office 365. Some steps may be slightly different depending upon your version of Word, go to the Microsoft Support website for details of other versions.
You’ll need:
- A computer with Microsoft Word installed.
You can save a document at any point as you type it, and it’s very good practice to save every few minutes. That way, if your computer crashes before you’ve finished your composition, you won’t lose what you’ve typed.
Follow these step-by-step instructions to save a document
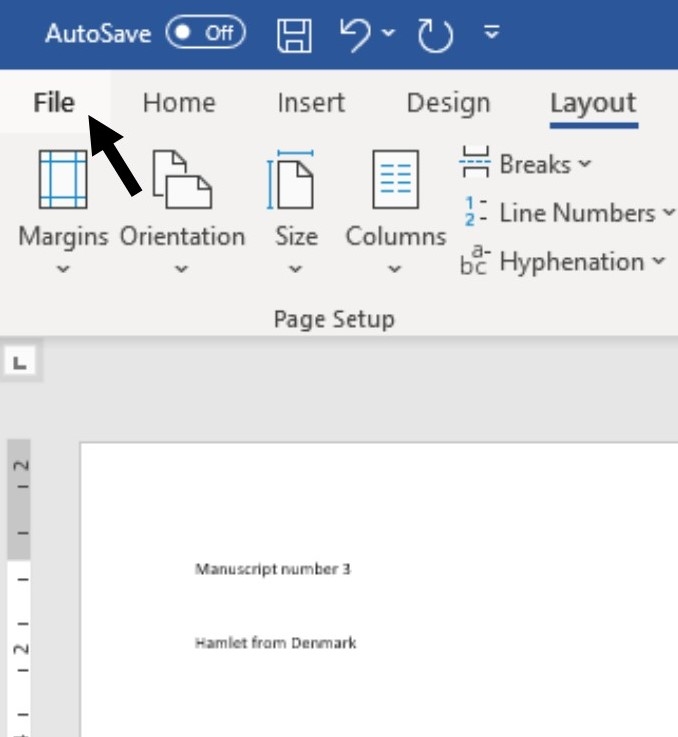
Step 1: Start a new document in Word and type your text.
Step 2: Click File in the top left-hand corner of the screen.
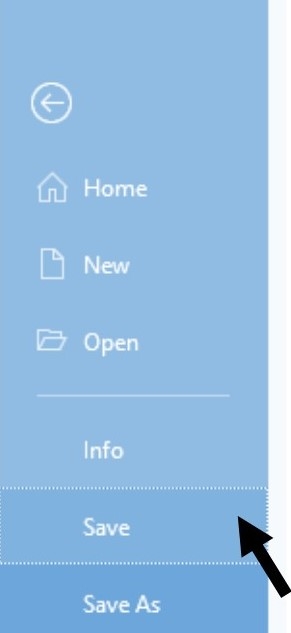
Step 3: From the menu, choose Save.
Step 4: A ‘Save’ dialogue box will come up. At the top and at the left-hand side in the list of folder options, it will show the folder where you’ll be saving the document. If you wish to change this folder, navigate through the folders on the left-hand side of the dialogue box to choose the one where you want to save your document.
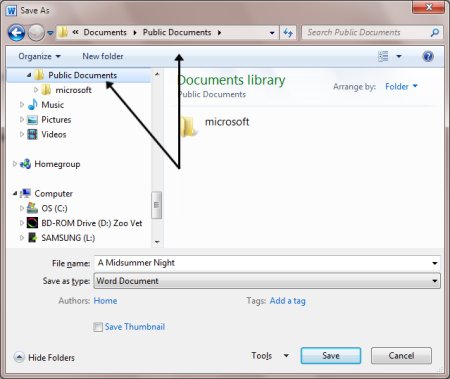
Step 5: Word will automatically give your document a name, based on the first few words of your text. If you don’t like the one given, once you have chosen the destination folder, type a name for your document in the ‘File name’ box. Come up with a name that is concise but will allow you to find the document easily again.
Don’t worry about changing what’s in the box underneath, labelled ‘Save as type’. This seldom needs to be changed. It allows you to choose the type of format that all documents created with these settings will have.

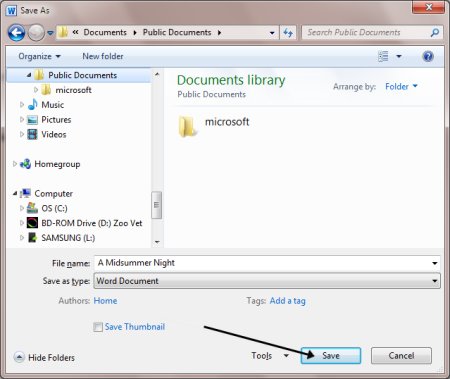
Step 6: Once you have typed in the name of your document, click Save.
Step 7: Your document will now have a name, which will be shown at the very top of your document screen. If you make changes to your document and then save them after it has been saved originally, the dialogue box will not come up again. It will just save your changes without any visual notification being shown.
Step 8: The ‘Save As’ menu – the link to which is on the left-hand side of the ‘File’ dialogue box, beneath ‘Save’ – is used to save an existing document under another name. This is helpful if you’ve made changes to your document and then want to save the changes, but also keep the original document in its original format and under its original name.
Saving to OneDrive
Saving your document to OneDrive means you can access it from anywhere – at work, at home, or on the go.
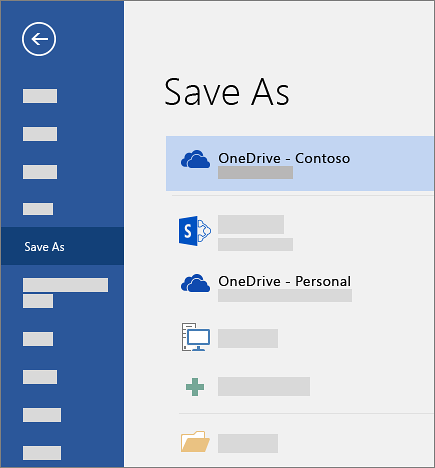
1. Go to the File menu (top left) then choose Save As.
2. Select OneDrive so you can get to your document from anywhere.
Save personal files to OneDrive - Personal, and work files to your company OneDrive.
3.Enter a name, and select Save.
Last updated 25th March 2021, Contributor - Mary Coleman (Digital Champion)