


Whenever you install a new program, a shortcut to it in the form of an ‘icon’ appears on your computer’s desktop (that is, the screen). You can also save documents to it. However, if you aren’t careful, before you know it your desktop is entirely covered in icons and you can’t find anything!
You need to be able to find and open any program or document quickly from the desktop. To help you do that, we’ll tell you how to add and subtract items until your desktop works to your satisfaction. We’ll also tell you how to turn your desktop into a slideshow!
Follow these step-by-step instructions to learn how to rearrange your desktop
This article assumes that you have a PC using Windows 7. The desktops of Apple Mac computers are different, as are those of earlier versions of Windows.
Deleting icons
Look at all the icons on your desktop. Some of them you’ll probably never need. Well, you can delete them! (This won’t delete any programs they link to, which will remain safe within your computer, but will remove the icons themselves from your desktop.)
Step 1: For instance, imagine that these are the icons on your desktop:
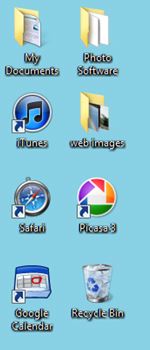
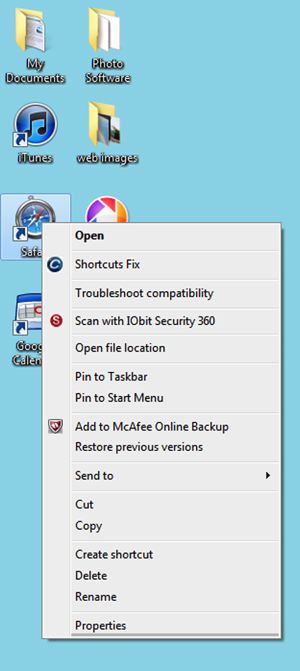
Say, you decide that you don’t need an icon for Safari on your computer. Right-click on the Safari icon.
Step 2: When a menu appears, click Delete (third item from the bottom).
Step 3: You’ll get a message informing you that the Safari program won’t be deleted from your computer. Click Yes. The Safari icon should disappear from your desktop.
Adding icons
As well as getting rid of icons, you can add ones to your desktop for programs that you use frequently.
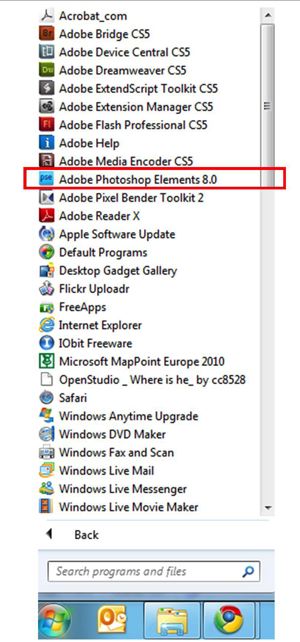
Step 1: Imagine that you’re a photographer and constantly use the program Adobe Photoshop Elements. To cut down on the time it takes to access that program, you want an icon linked to it on your desktop. Go to the taskbar at the bottom of the desktop, press the ‘Windows’ button and click All Programs:

Step 2: Find ‘Adobe Photoshop Elements 8.0′:
Step 3: Right-click on the icon, to open this menu:
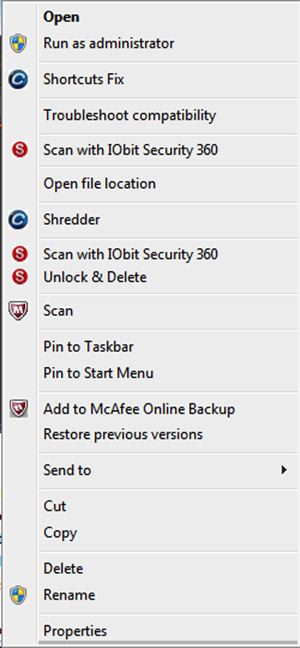
Step 4: Move your cursor down to ‘Send to’. A new menu will appear to the right:
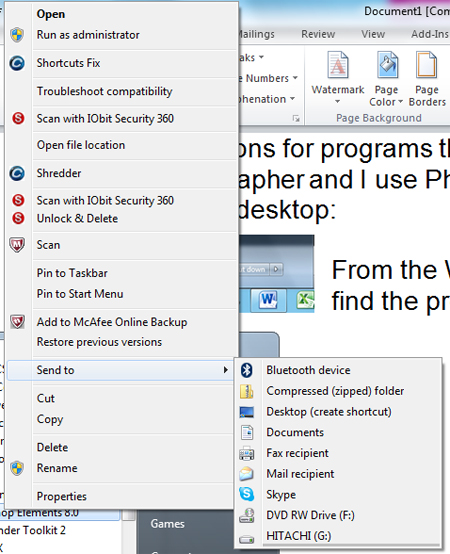
Step 5: Move your cursor across and then down to ‘Desktop (create shortcut)’. Click this. A Photoshop Elements icon will now appear on your desktop. Click it to open the program.
Adding a slideshow
A great way to show off your photographs is to put a slideshow on your desktop. Then if you aren’t working, you can watch the images go by and let others see them, too. If you haven’t downloaded any images yet, you can use the examples that come with Windows.
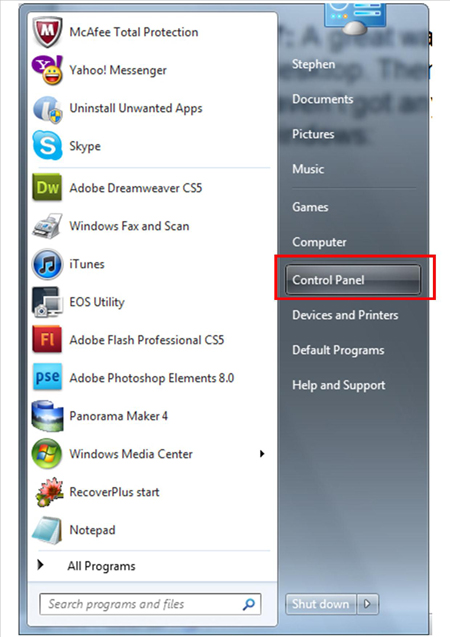
Step 1: Press the ‘Windows’ button and click Control Panel:
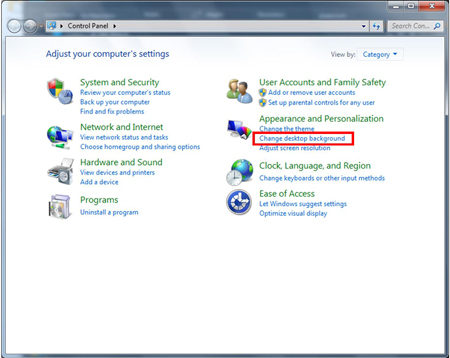
Step 2: In the control panel, click Change desktop background:
Step 3: A new window now opens, headed ‘Choose your desktop background’:
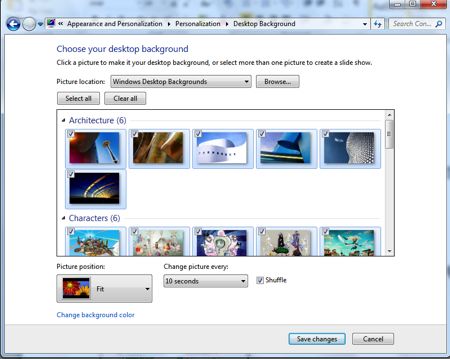
If you haven’t got any of your own images on your computer, select Windows Desktop Backgrounds and choose one or more of the photographs shown.
If you’d rather display some of your own pictures, click Browse. You’ll be taken into the computer’s directory to find your pictures for the slide show.
Step 4: Now choose how often to change the picture. Pick a time from the drop-down list headed ‘Change picture every:’. You’ll find that 10 seconds is quite a long time!
Step 5: You’ll also see a box labelled ‘Shuffle’. If you want your pictures to appear in random order, keep this box ticked. If you want them to appear in a predetermined order, untick it.
Step 6: Click Save changes.
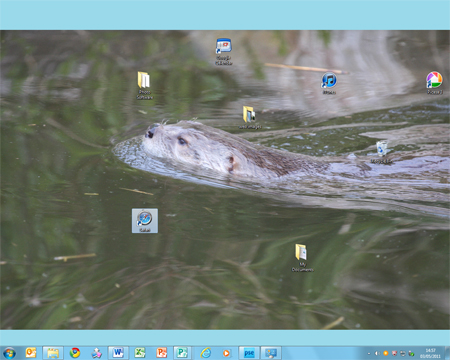
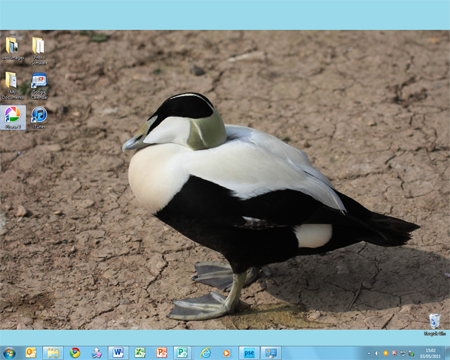
Step 7: Now that you’ve got a slideshow, place the icons on your desktop so that you can see them but they aren’t in the way of your pictures. You can drag and drop them anywhere on the work area – here are two examples:
Done!
Stephen Baird-Parker is a qualified ICT teacher.