


Before you can make any edits to your pictures, you first need to get them from your camera or phone 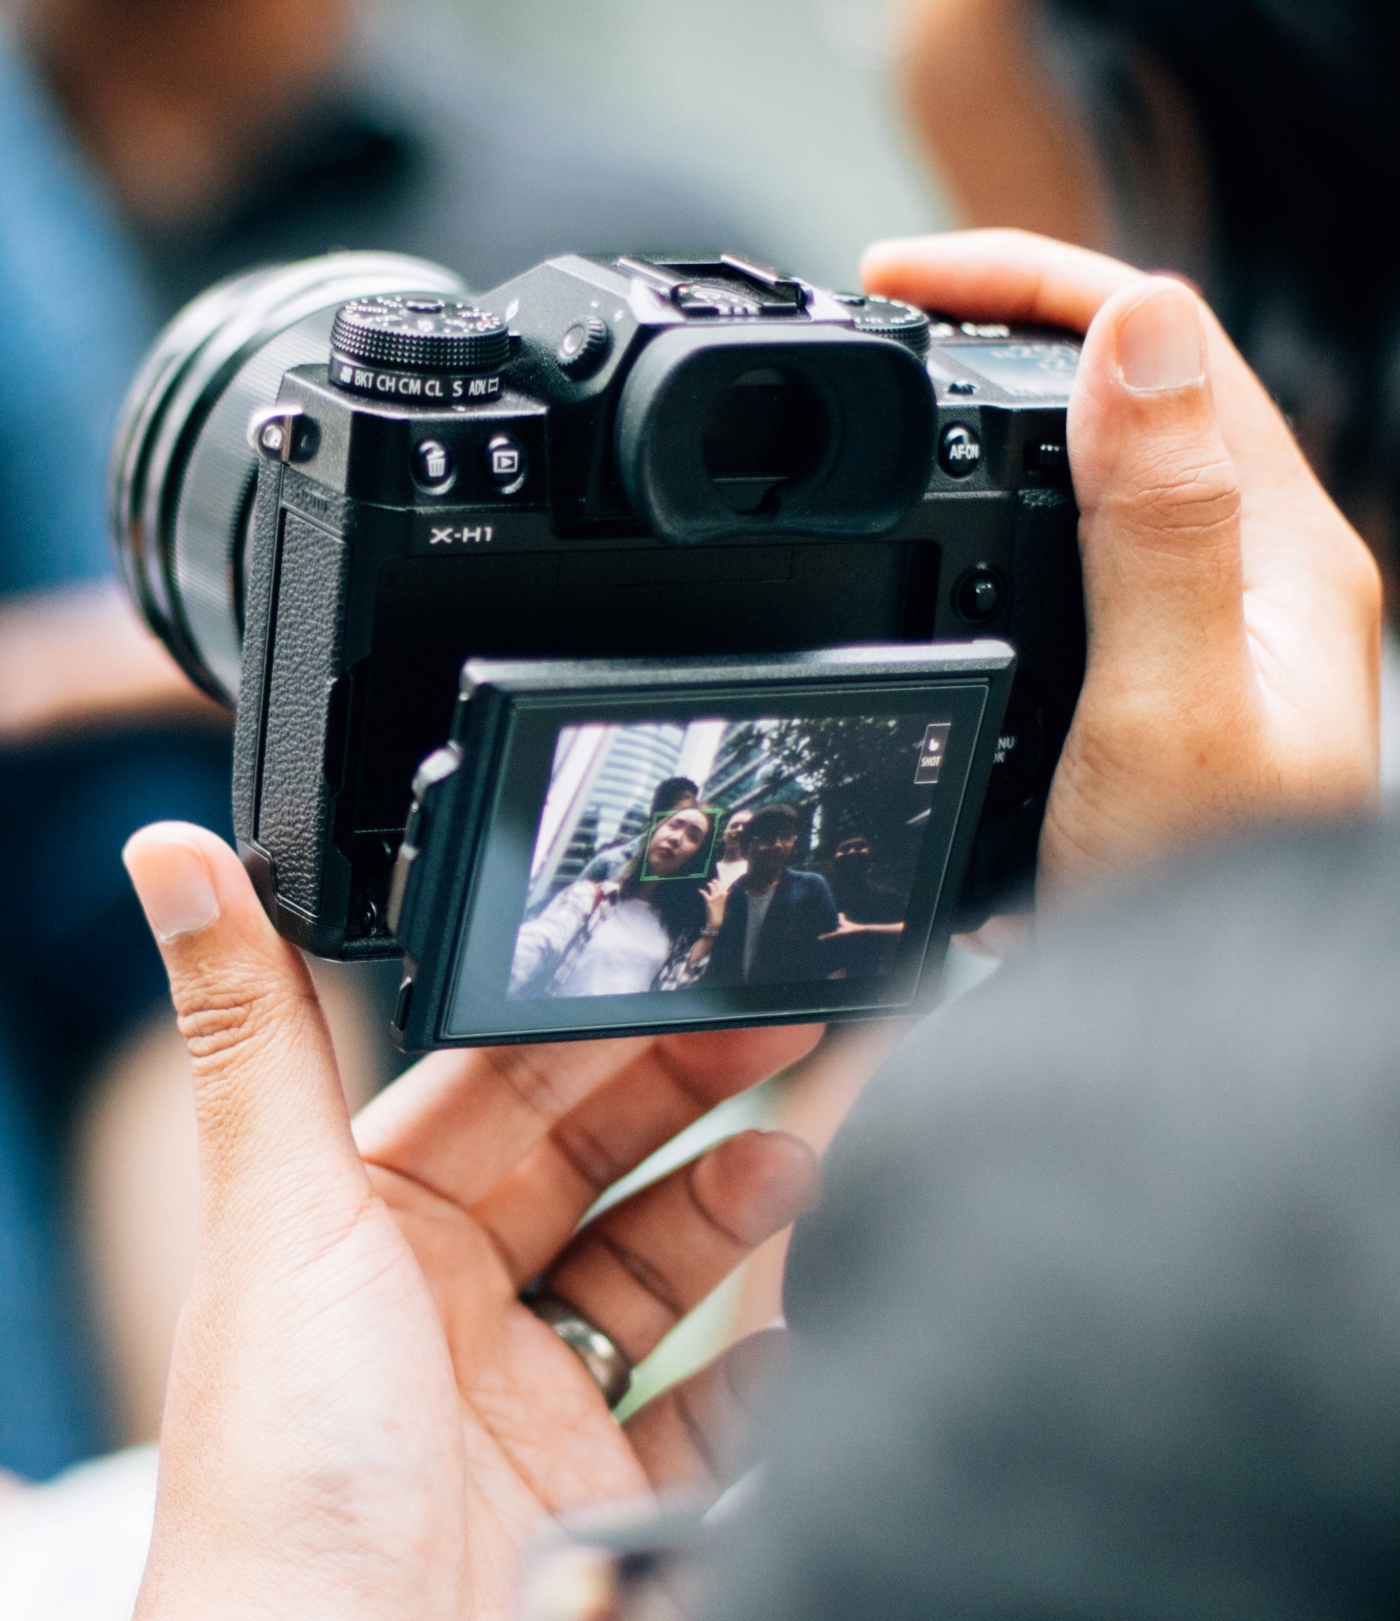 to your computer. This can be done in a few simple steps.
You can use the photo software program that came with your digital camera. In this guide, I’ve used the Windows 10 built-in Photos App which follow a very similar process.
You’ll need:
- a computer
- a digital camera
- a memory card from your camera (see right) to insert in your computer’s memory card slot. If your computer doesn’t have a memory card slot, you’ll need an external hard drive or memory card reader. Alternatively, if you have an appropriate USB cable, you may be able to connect your camera or phone directly to your computer.
Follow these step-by-step instructions to download pictures from camera or mobile phone to computer using the Windows Photos App
Step 1: Connect the digital camera or mobile phone to your computer with a USB cable that can transfer files.
Step 2: Turn your digital camera or mobile phone on and unlock it. Your PC can’t find the device if the device is locked.
Step 3: On your PC, select the “ Start” button and then select Photos to open the Photos app.
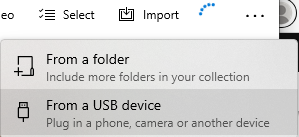
Step 4: Select Import > From a USB device, then follow the instructions. You can pick the items you want to import and select where to save them. Allow a few moments for detection and transfer.
Alternative method: You don’t always need to use photo software to transfer photos from your camera. You can move photos from your camera as if you are moving them from an external hard drive or flash drive. Here is how:
Step 1: Connect one end of the USB cable to the port in your camera.
Step 2: Connect one the other end of the USB cable to the USB port in your computer.
Step 3: Turn on the camera or phone.

Step 4: A dialog box may appear on the screen. If it does, select “Open folder to view files” or “Open Folder”. If the dialog does not appear, click the Windows “Start” menu, select “Computer” and then choose the drive labelled for your connected camera/phone (your may need to all confirm on your phone that you want the computer to access the files on your phone).
Step 5: The pictures are probably located in a particular photo folder on the camera or phone. Open that folder. Drag individual photos from the camera or phone folder to the folder on your computer. You can select all the photos by pressing “Ctrl-A” and you can then paste them into a pictures folder on your computer by pressing “Ctrl-V”
A useful users guide to Windows 10 photos can be found here: https://compass-ssl.microsoft.com/assets/e4/83/e483cba0-0612-4ab5-b25f-51c579e1e939.pdf?n=QS-Photos-app.pdf.
Guide last updated 6 June 2022