


Gmail is a web-based email account provider owned by Google.
In this guide, we’re going to show you how to get started with email by creating an account in Gmail.
You’ll need:
- a computer with internet access and a web browser installed on your computer
Follow these step-by-step instructions to create a Gmail account
Step 1: Go to Google
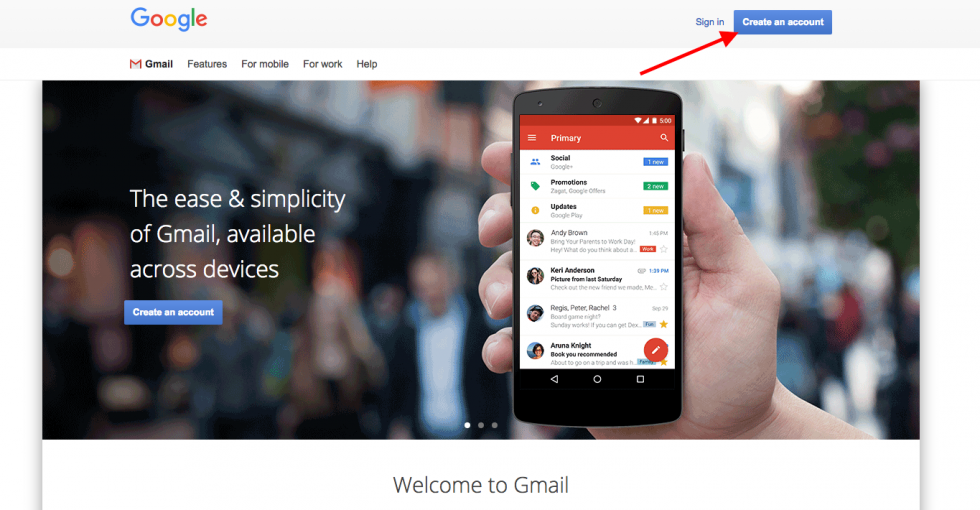
Open up your internet browser and go to the Google home page: http://www.google.co.uk and then click on Gmail at the top right corner of the page

Step 2: Create an account
You’ll now be in the ‘Sign in’ section. As you don’t have a Google account yet, you need to create one. Click Create an account.
Step 3: Set up
To set up your new account, Google needs some information about you – first, your first and last names. The ‘choose your username’ is the unique email address that you wish to use that will be placed before ‘@gmail.com’. Because it needs to be unique, Google may have to check the availability of any name that you decide on to make sure that no one already has it. Type an email name into the ‘choose your username’ box and then fill out the rest of your information.
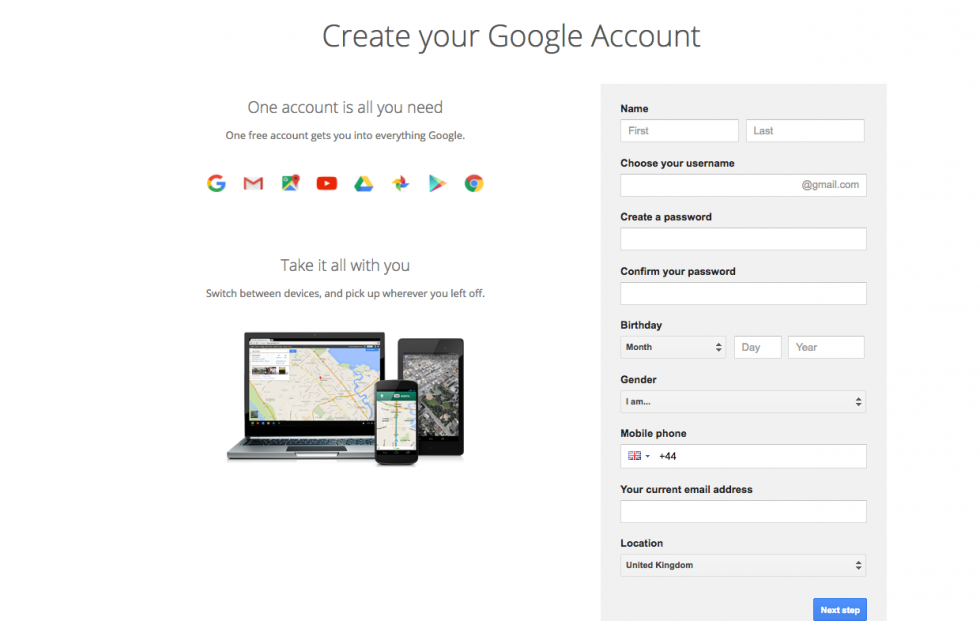
If the email name that you requested is not available, you’ll get a message saying that somebody already has that username and offering you some alternatives. You can decide to accept one of the alternatives or type in another name and check its availability once more. You will have to complete some of the other boxes again. You may have to do this a few times. Once you finalise your email address, it’s a good idea to make a note of it so that you can refer to it until you remember it.
You’ll need to come up with a password so that you can log in securely to your account. Google may explain that you should try one with at least 8 characters to be secure. Use letters and numbers to make the password more secure and difficult to guess. You can add an existing email address to keep your new email secure as well.
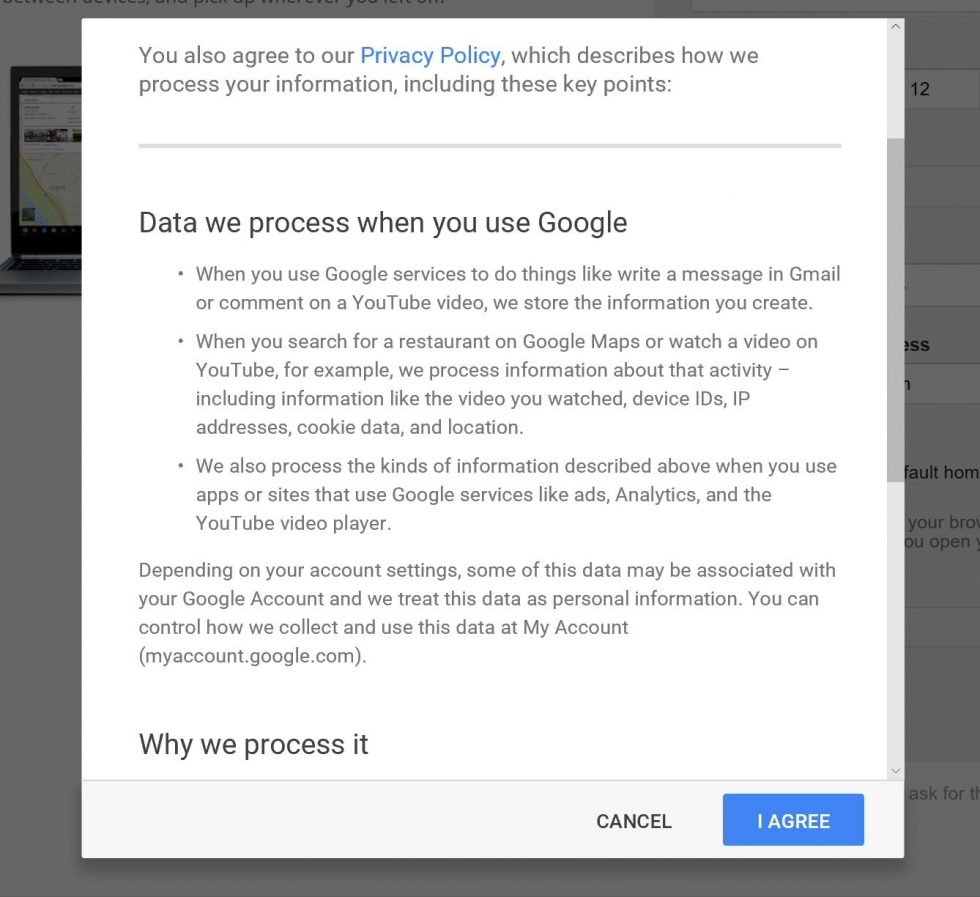
Step 4: Verification
To get to the next steps you will need to Accept Google's privacy and terms first, once you have read it click on I Agree.
Google will now ask you to verify your account via text or voice call, select the option that you want and click on Continue.
If you chose the text message option you will see a new window where you will have to enter the code that Google has sent to your mobile number. Select Continue. Congratulations, you have created your Gmail account!
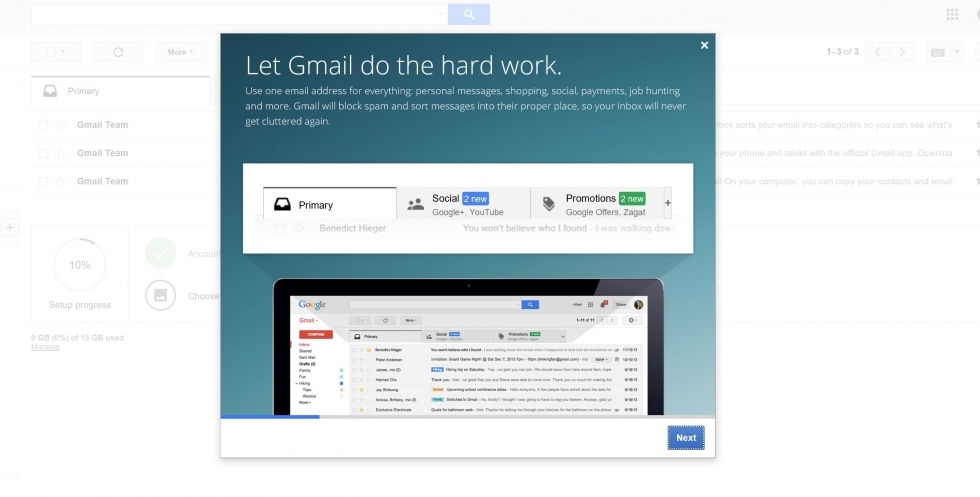
Step 5: Google mail dashboard
You will be automatically redirected to Gmail's dashboard and once you have read all of the information your Gmail is ready to use. On the left hand side you will be able to see your inbox, sent mail and trash. You will also be able to compose emails from this list too.
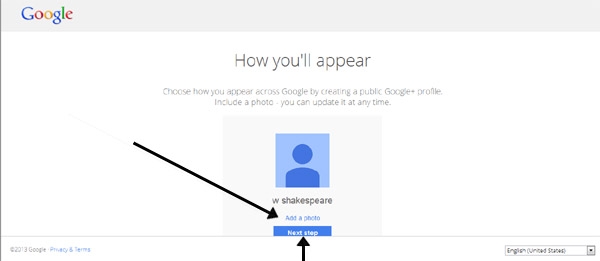
Step 6: Creating a profile picture
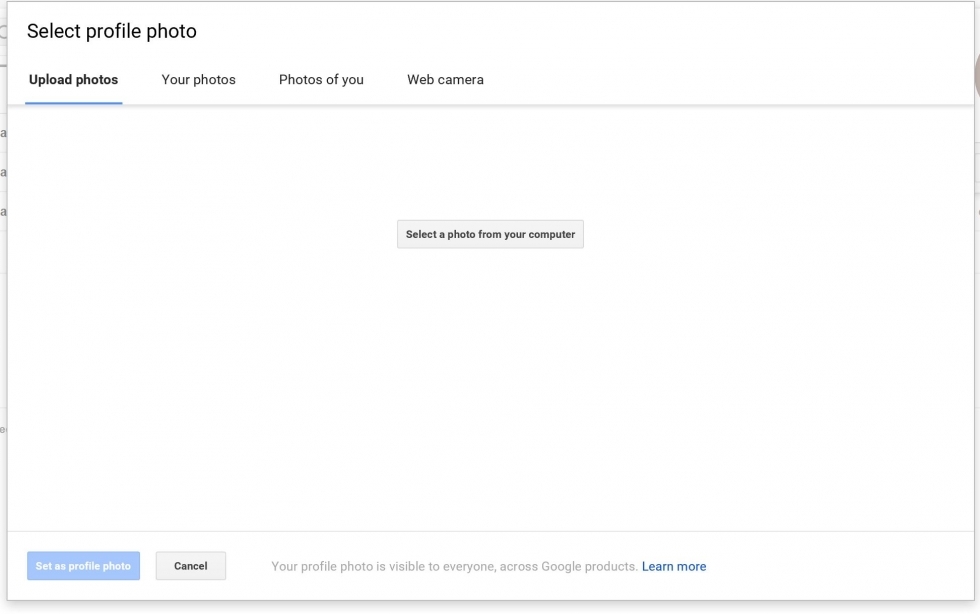
You can go straight to your inbox and get started or you can set up a photo to show as your profile picture. To set up your profile picture click on the profile icon on the top right hand corner of the page and click Change.
Then upload a photo saved to your computer. Once you are happy with the picture you have chosen then select Set as profile picture. You can change this at any time by going back into your profile picture settings.
Step 7: Completing your set up
You can complete your Google mail set up by clicking the available resources on the dashboard.

Now that your account is ready to go how about looking at some of the other Google mail guides we have available?
Click on the guides below to see how to get the most out of your new Gmail account.
Last updated 31 October 2022