


Turning on your computer isn’t always easy. Some manufacturers hide the ‘on’ button – for instance, on top of the case or flat on the front where you can’t see it. When you get your computer, don’t be embarrassed to ask: ‘Where’s the “on” button?’
Follow these step-by-step instructions to help you turn on your computer
Step 1: Find the ‘on’ button. It probably looks like this (but might be square or oblong!):

Step 2: Push the button.
On some computers, the button lights up when the computer is on. On laptops, there’s often a light on the front that comes on. You may have to keep pushing for a couple of seconds to make this happen, but don’t worry – you’ll soon get to know how your computer works.
If nothing happens, there are a few things you can check easily:
- If you’re using a laptop, the battery might be flat. So plug in the charger, plug the charger into the mains and let the laptop recharge. You can continue to use it while it’s doing this.
- If you have a PC, make sure that the plug or any of the other wires haven’t become disconnected.
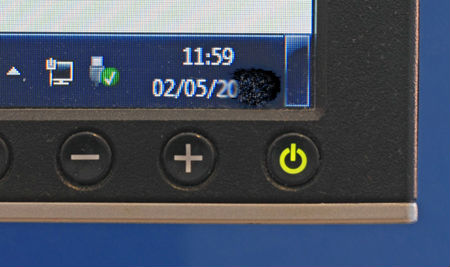
- Ensure that the monitor is turned on. Most PC monitors have an ‘on/off’ button on the bottom corner of the screen (see below). The button often lights up green when the monitor is on.
Step 3: Now you need to log in.
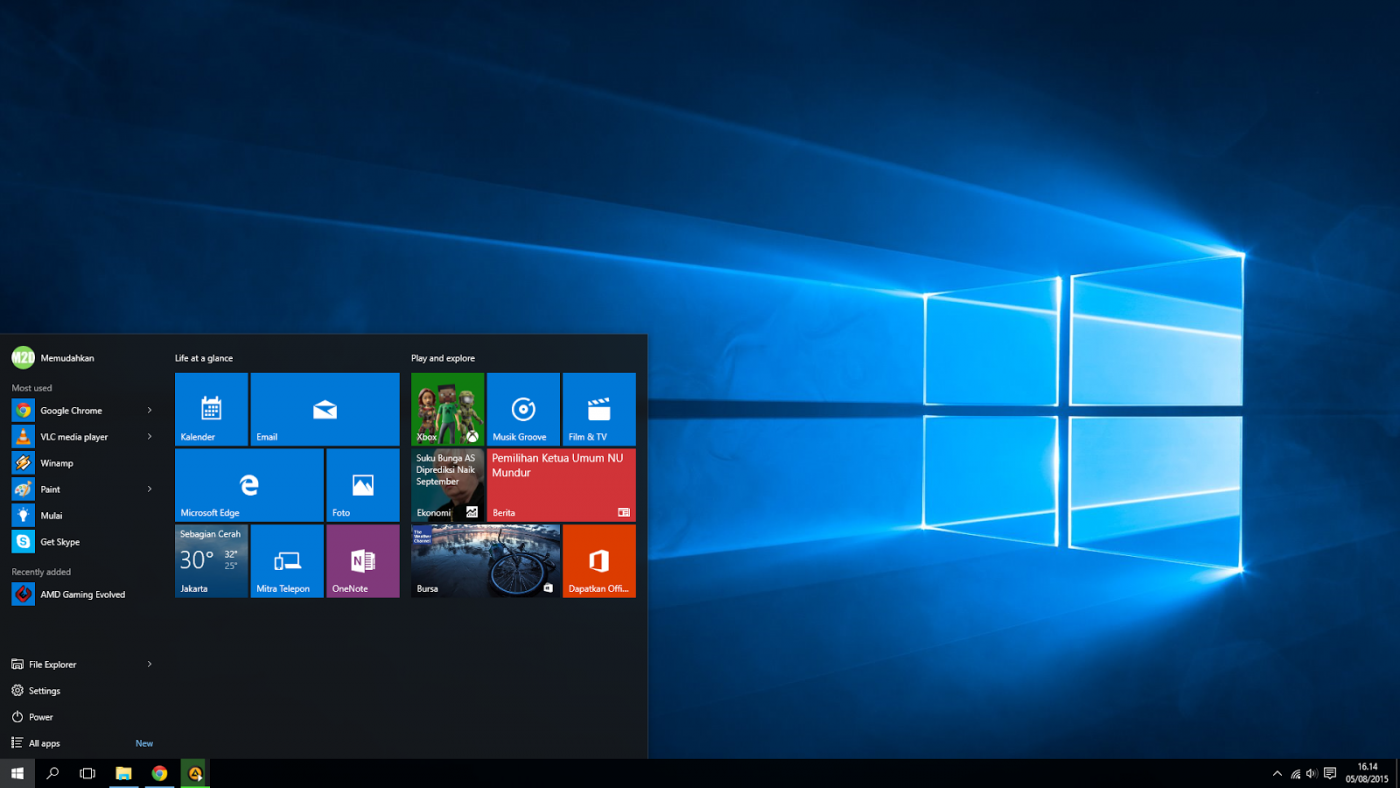
If you’re the only user of your computer, once it’s turned on it may go straight to the desktop:
If you’re using a public computer – for example, in a library – you’ll be given instructions (and help if you ask for it) on how to log in.
If you’re sharing your computer with other people, each one will usually have their own account. When you click the icon with your name, you’ll be asked for a password. The main user or administrator should set this up for you before you begin. Type in your password and click the arrow.
Last updated 18th October 2022