


Having email on your phone makes it very easy to stay connected when you’re on the go. You can check your emails whenever you like, so you don’t have to wait until you’re at a computer, saving you time and you can read and reply to important mails as soon as they arrive in your in box, which is very convenient. It is very simple to set up too!
What you’ll learn in this guide:
- How to set up an email account if you don’t already have one (Gmail, Outlook etc.) and get the login details
- How to find and open the Android email application
- How to use your sign in details to connect your email account to the Android email app
- How to start to use your email account on your phone
- A brief overview of some of the main third party email apps
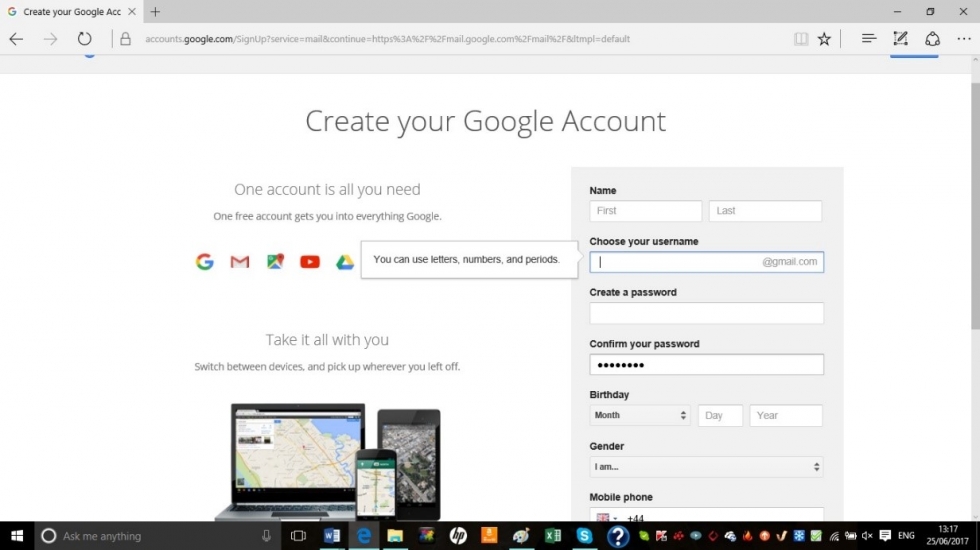
Step 1: Making sure you have an email account
First you will need the details of your email account. You will need your email address, e.g.. yourname@gmail.com, as well as your password. If you do not have an email account, you will need to set one up. Go online and visit the site of the email provider you would like to use. Some of the most popular are www.gmail.com, www.outlook.com and www.yahoo.co.uk. Follow the instructions on the site and make note of your password. We recommend you make your password difficult to guess, including letters, numbers and symbols.
If you already have an email account but have forgotten your password, log out of your email account and click on ‘Forgot Password?’ This will prompt you to create a new password. Make a note of it before you go to install email on your Android.
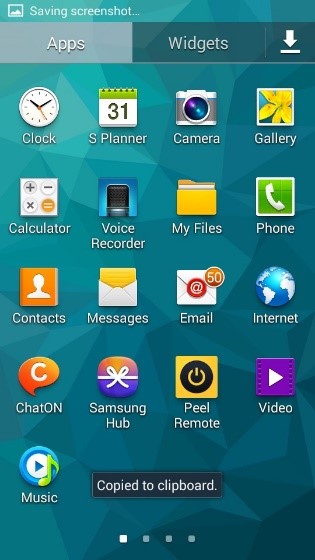
Step 2: Opening and setting up the Android email app
Go the list of apps on your phone and tap on the icon marked ‘Email’.
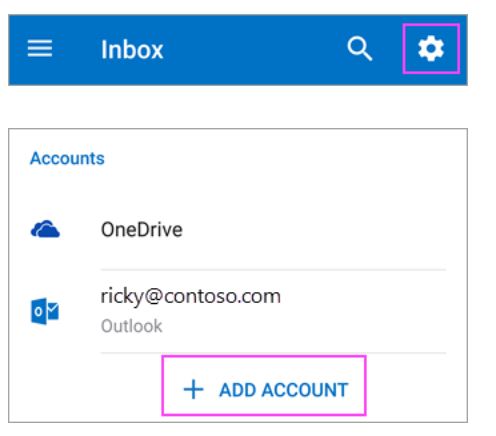
Tap ‘Add Account’.
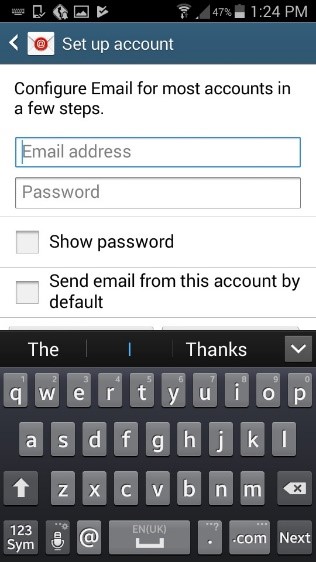
Step 3: Setting up your account
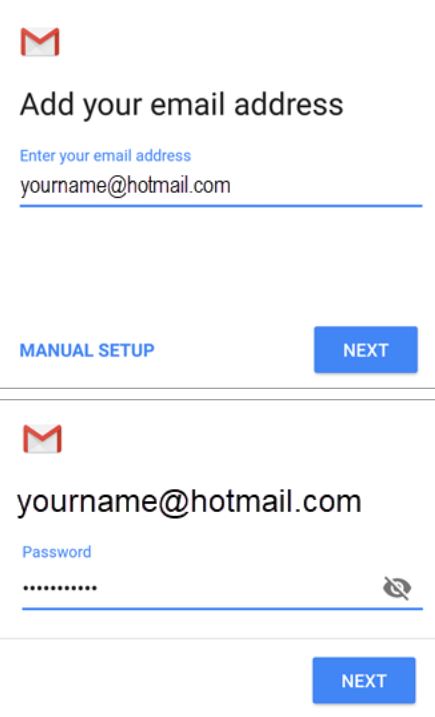
Enter your email address and password and tap on ‘Next’.
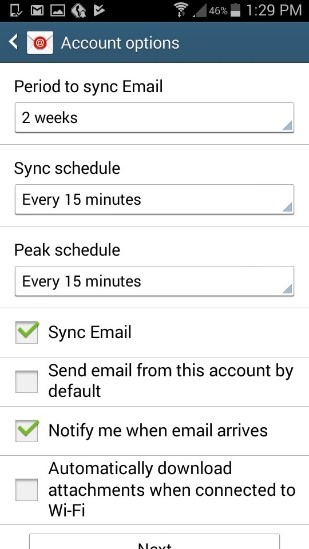
Step 4: Synchronising your mail
Now set up the email account the way that suits you. You can choose how frequently to synchronise your mail, whether to make this the default email account and whether to automatically download attachments. Note that the more frequently your phone checks for mail, the greater the drain on your battery, so you may prefer to set synchronisation infrequently and manually synchronise when you want to check your mail. You can also select if you’d like a notification when a new mail arrives. When you’re happy with your settings, tap on ‘Next’.
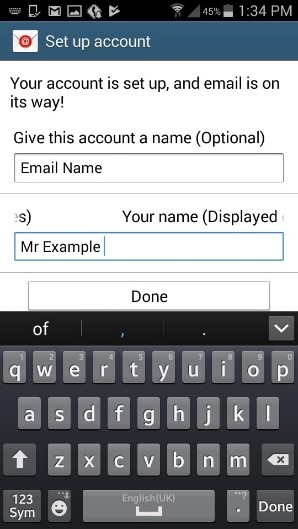
Your account is now set up. You can now give this email account a name if you want and set the name that will accompany any outgoing messages.
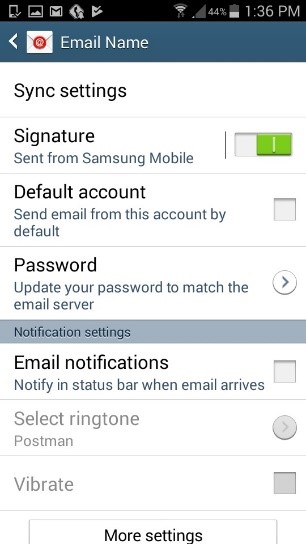
Step 5: Changing the settings
If you want to change the settings on your email account, open up the email and tap the button on the bottom left of your phone. Tap ‘Settings’ to give yourself the option to set up a signature, change your default account, change your password and change notifications.
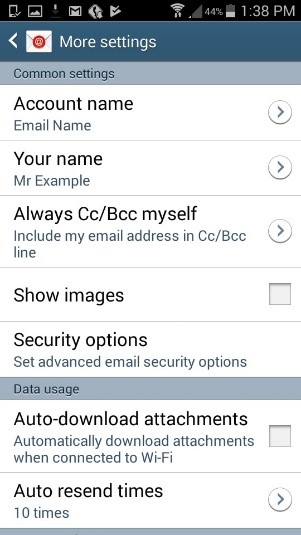
Tap on ‘More settings’ to change the account name, send yourself copies of emails, turn on images in received mails, automatically download images, set the number of times your phone will attempt to send a mail, as well as change the server settings.
Step 6: Third party email apps
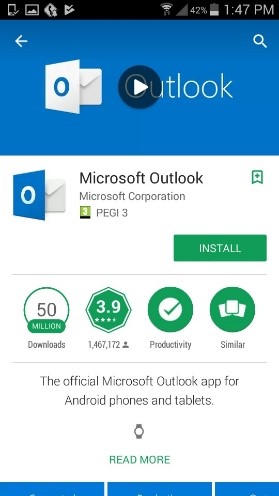
You may prefer to use a custom email app rather than your smartphone’s default email app. Some of the most popular include Microsoft Outlook, Gmail, myMail and Boxer, all of which are free to install.
- The Outlook app works with a number of different email providers rather than just Microsoft, and has lots of Cloud storage and an integrated calendar.
- Gmail’s app is also free, but only works with Gmail. However, if you have a Gmail account, you’ll find it very useful for its great search feature, easy-to-use interface and the ability to insert Google drive documents.
- MyMail has a very easy interface, using images to represents your contacts so you can see at a glance who has mailed you. Compatible with all the main providers, it also places picture attachments as thumbnails at the top of your emails to give you a preview of attachments.
- Boxer is one of the most feature-filled apps, perfect for avid emailers! It supports all the main email providers and incorporates a number of powerful features, including the ability to attach files from Box or Dropbox, swiping for a number of tasks, such as archiving, deleting or marking, a ‘like’ function to send a read receipt, customisable signatures and integration with Evernote.
Now you can install email on your Android smartphone. You can choose to use your phone’s provided email app or you can install a specific email app for even more functionality
Step 7: Outlook for Android
- Open Outlook for Android and tap Get Started if it's your first time
- Or, go to Settings > Add Account > Add Email Account
If you have 2-step verification turned on, identify yourself using the method you chose (6 digit code, phone, or using the Microsoft Authenticator app.
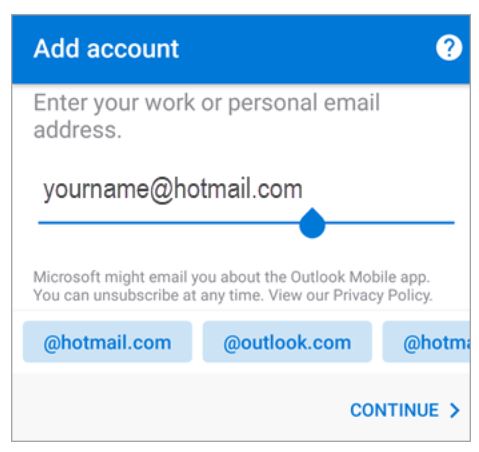
Enter your full email address, then tap Continue.
Outlook may request permission to access your calendar, contacts, etc. Tap Yes or Allow.
You're now ready to use Outlook for Android!
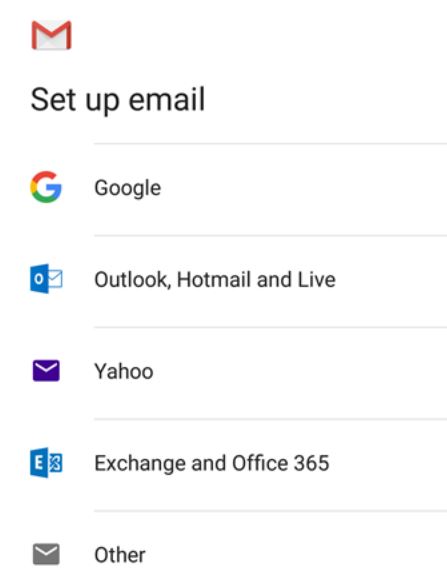
Step 8: Setting up Gmail in Android email app
After you have installed the Gmail app onto your phone from the Google play store, you can login using your full email address and password.
Once you’ve mastered emailing from your phone, you might like to explore other ways to connect with your friends and family. You could install WhatsApp to send messages, group messages, photos, etc. You can even learn about video messaging and using FaceTime to stay in touch.
We hope you have enjoyed this guide on how to install email onto your Android device, why don't you check out our Next Steps links below for more Android and email guides.