


YouTube is the definitive site for video sharing. Videos can be uploaded into your own channel, which is like a ‘homepage’ for your account, where other people can see the videos you wish to share.
This guide will give you a step by step walkthrough of setting up your own YouTube channel to upload your own videos.
You’ll need:
- A computer with internet access and a browser installed.
This guide is written using Windows 7 and Internet Explorer, however the process is similar for different operating systems and browsers.
Follow these step-by-step instructions for creating a new YouTube channel
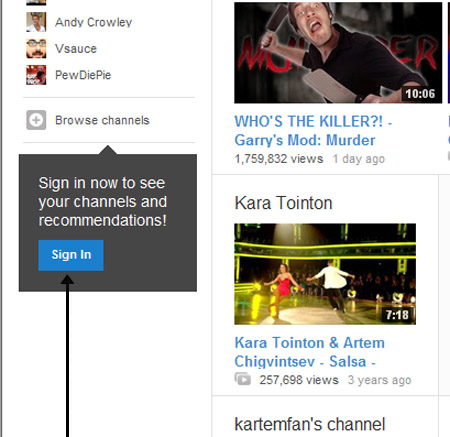
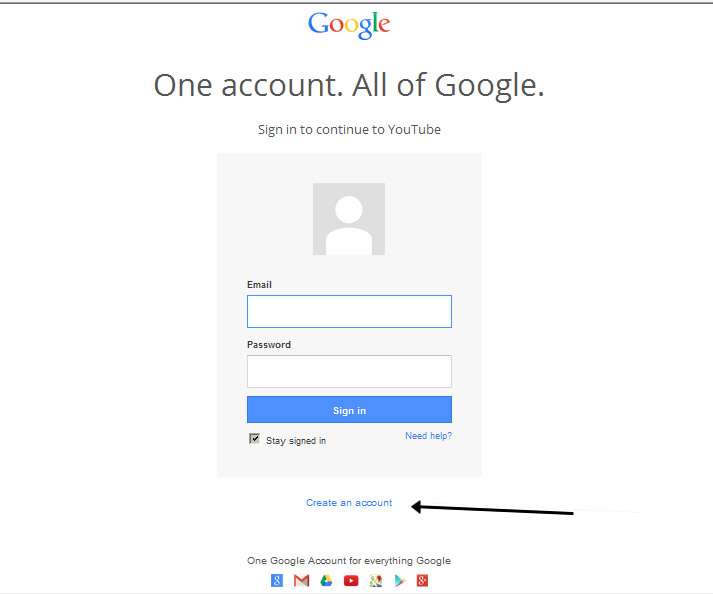
Step 1: Go to the YouTube website at www.youtube.com. On the website, you can sign in and set up a channel or start a new account if you don’t have a Google account. Even if you don’t have a Google account, click on Sign In and you can then create a new account. (If you have an account, sign in with your username and password).
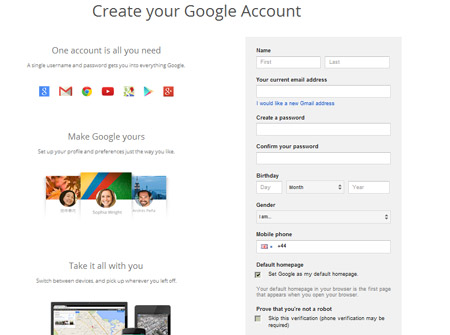
Step 2: If you need to set up a new Google account, complete the next screen with your personal details. Follow the onscreen prompts. Once you have setup your account, you can return to the YouTube home screen to setup your channel and upload videos.
Step 3: Once you have set up your account, are signed in and on the home page, you can set up your channel or account home page from the main YouTube home page.
Step 4: Click on Upload at the top of the screen.


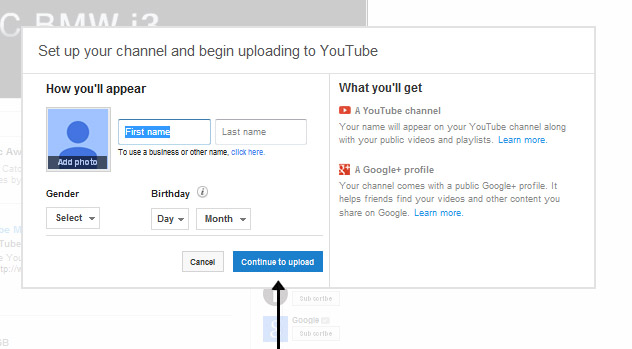
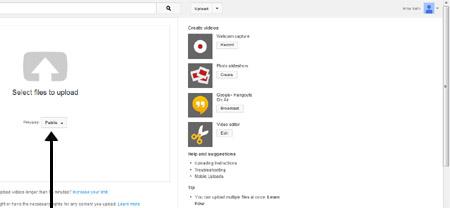
Step 5: The next screen will explain that you are setting up a channel and Google+ profile. It will also request you to complete the information that the public will see on the web when people go to your channel. It is also a good idea to use a username that gives an idea of the content of your channel, which helps people find it. But it does require a unique username. You can add or upload a photo if you wish. Click Continue to upload.
Step 6: Once you have clicked Continue, the next page will log you into your channel page, with the username you have given shown in the top right hand corner.

Step 7: You can now upload your video to your channel.
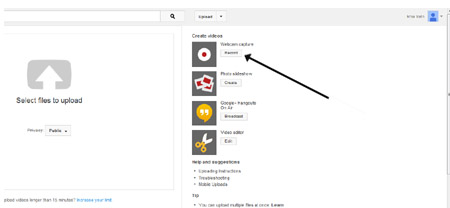
Step 8: Alternatively, you can record a video directly to your channel through a webcam connected to your computer.
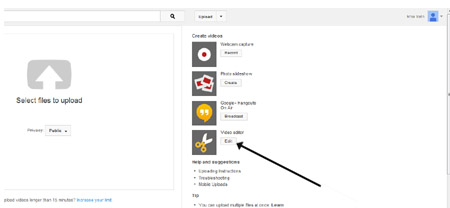
Step 9: Once you have uploaded your video, you can also edit it using the YouTube video edit function.
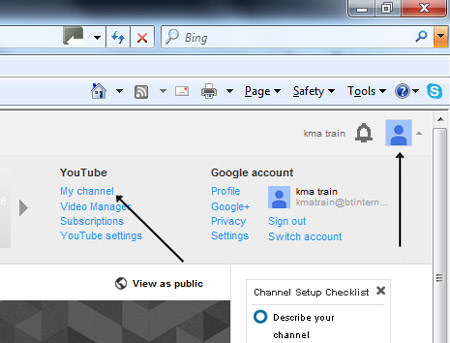
Step 10: To see your home channel page, click on the profile picture at the top right of the screen. You can then choose My Channel from the menu options.
Your channel page will load.
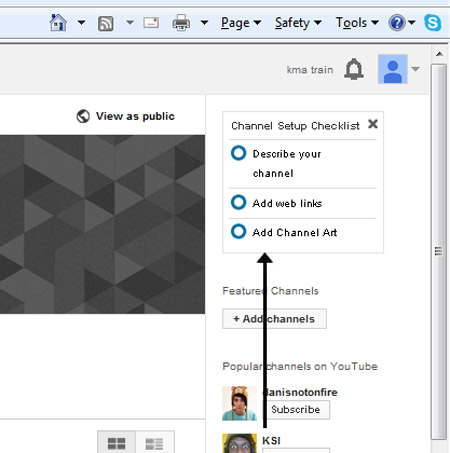
Step 11: You can now add some finishing touches to your channel. For example, you can add a written description about your channel and the genre of videos. You can add any web links to other sites and also add art or background art to your channel. You can check how your channel looks like by clicking on View as public on your home page.
Step 12: You don’t have to just stop at one channel. If you like different genres of video or want to show different types of videos, you can add as many channels as you wish with different usernames.
Just create a new username and add another channel as shown above.
Karen Maxwell is a Digital Unite tutor and assessor/trainer of computer accessibility.