


We originally gave this a second caption of “Let’s Party!” because that is one of the great uses for this particular part of Facebook. Of course it does not have to be a party; it could be a demonstration, a work event, a wedding or wedding reception in fact anything that you might want to invite a group of your friends to.
This simple guide will teach you how to create a Facebook group that you can share with friends and family.
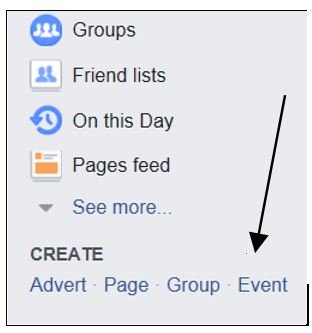
Step 1: Creating a Facebook event
To start your event invitation click on Create Event
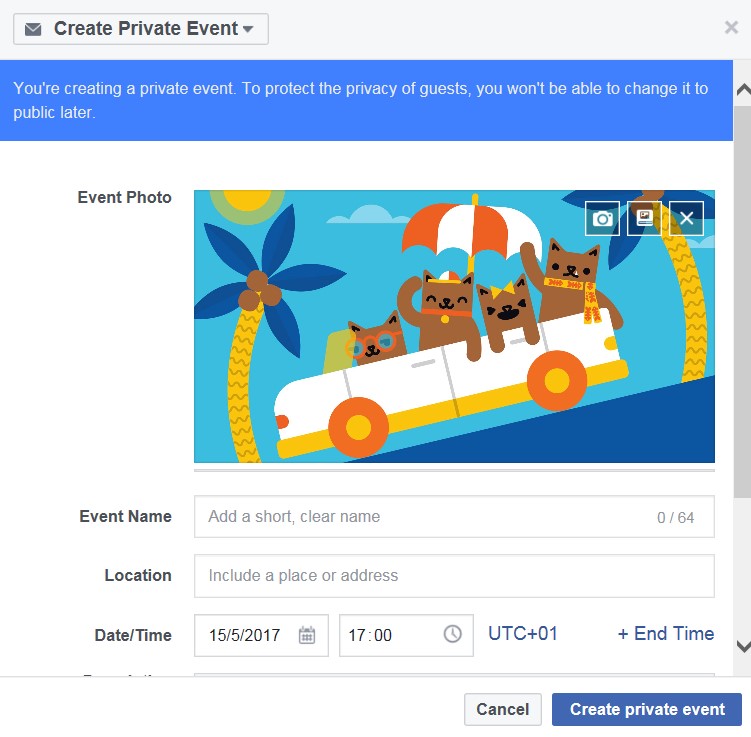
A new window will open up for you to “Create Private Event”. This basically means that the only people who will see that this event is happening are the people you invite to it. It will not be shared on your timeline or in public.

Step 2: Personalising your Facebook event
Next you need to decide what your invitation is going to look like. You have two choices with the first option being to choose a theme from one of the ones supplied.
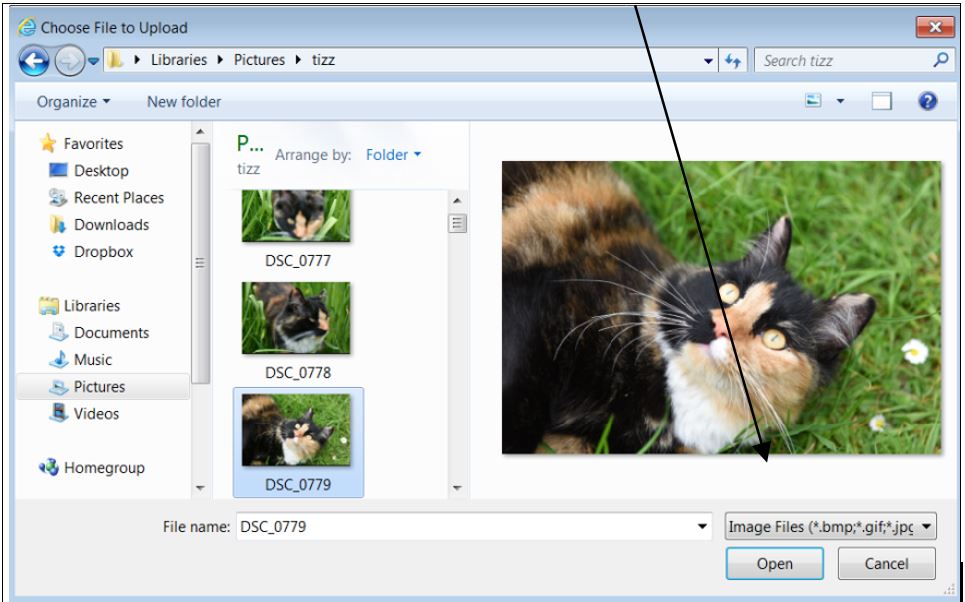
The second option is to use a photograph from your own computer by clicking on Upload Photo. A new window will open directing you to where you normally store images such as Pictures. If, for instance, you are organising a surprise birthday party you could include a picture of that person so that all invitees can see. Once you have chosen your image click on Open.
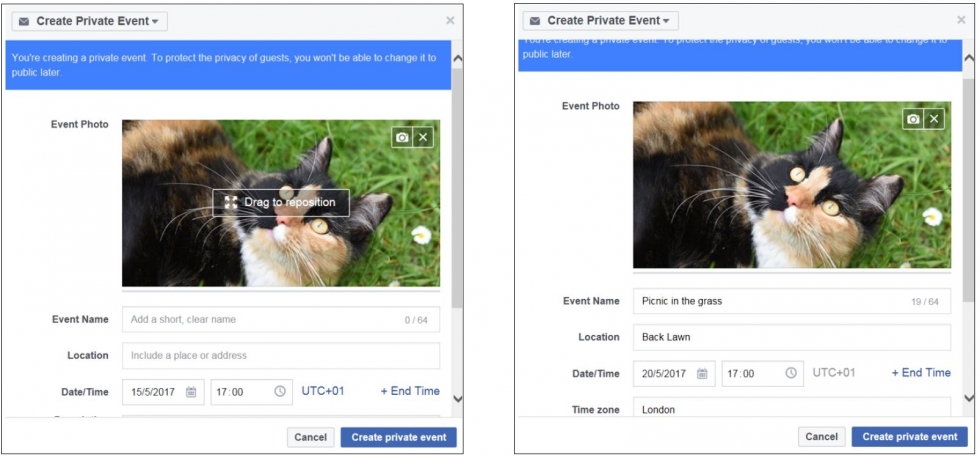
Your chosen image will appear on the invitation. Now is your chance to tell your guests what the event is for, where the event will be held and at what time to get there. You may want to set a finish time if it is being held in a place where there are restricted hours.
Step 3: Creating your event and inviting friends
Once you have filled in all the details click on the button “Create Private Event”.
Great! Now you have created your event it is time to select the people you would like to attend and send them an invitation. The other good news about creating an event on Facebook is that you can immediately see who is coming and who can’t make it as they reply to your invitation.
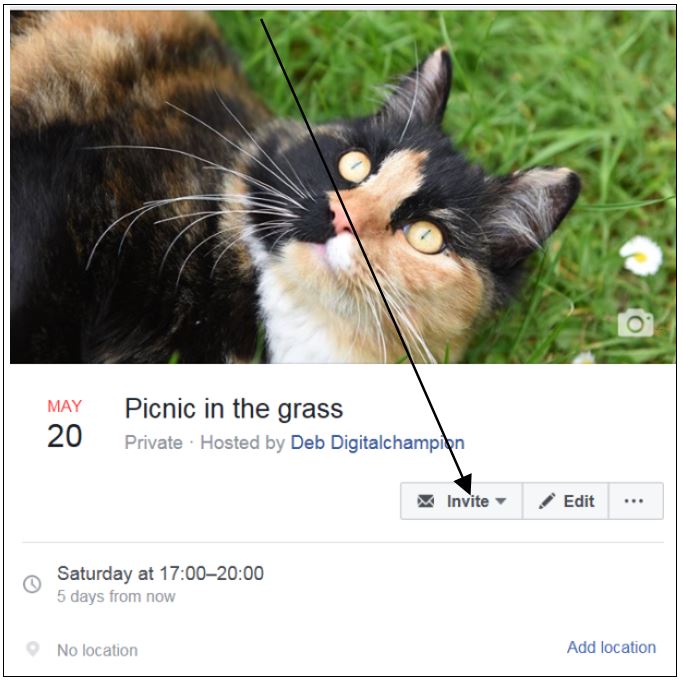
To invite friends (you can also allow friends to invite friends as well if you wanted), click on Invite.
You can now also send invites by text or email to people who do not have Facebook accounts (as long as you have the relevant contact details obviously).
Step 4: Sending your invitation
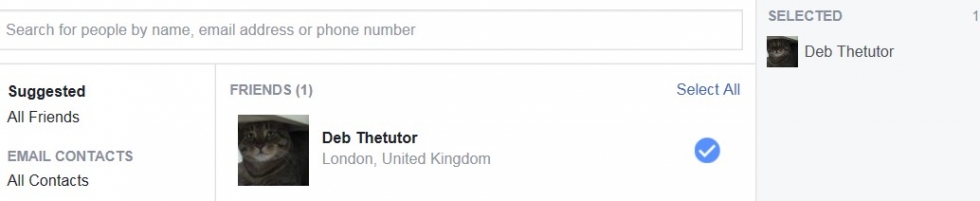
A list of your contacts will open, click on the names of the people you would like to invite to your event. Once you have finished selecting, click on the button “Send Invitation”.
Once you return to your event page you will see how many people have been invited and once people reply you will also see how many people will be attending.
Note that the '1 going” is YOU!', Facebook automatically puts the person who created the event down as attending.

We hope this guide has helped you to create your own event on Facebook to share with your friends and family. Why don't you check out our other Facebook guides available in the Next Steps below.