


There are two ways to use a keyboard with iPad: the built-in touchscreen keyboard, or attaching an external keyboard.
Onscreen
Most of the apps used on an iPad contain a search box usually in the top right hand corner of the screen. The onscreen keyboard appears when you tap inside this box. The keyboard also pops up when a word processing app is used.
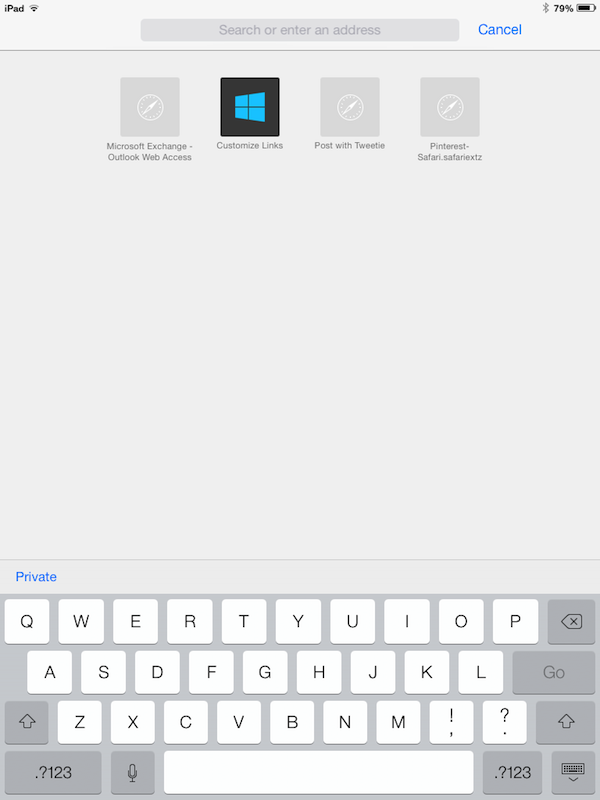
The keyboard is laid out exactly like a typist’s keyboard as you can see in this picture below, which is showing a view in the Safari web browser app.
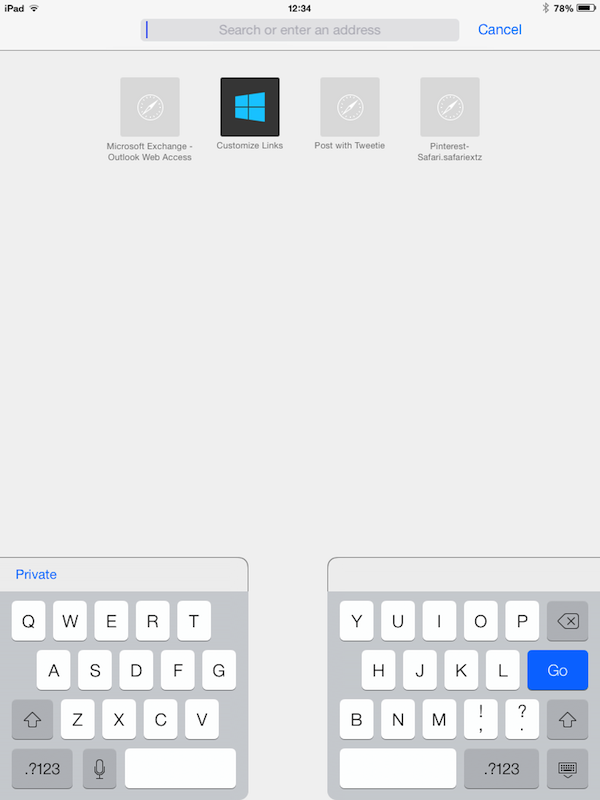
If the keyboard covers too much of the screen for comfort, it can be split by using the pinch movement. Place you thumb near letter ‘F’. Next make sure your index finger is near to ‘J’. Slowly press and make the gap between your thumb and index grow bigger. The keyboard should start to split just like this.
To bring the keyboard back together, place the thumb and index fingers in the same places. This time press and make the gap smaller. If this is attempted a couple times and it doesn’t split, this means the feature will need setting up.
The onscreen keyboard has a number of facilities. For example, the language of the keyboard can be changed and you can also make emoticons available on your keyboard too.
To be able to set these and the splitting of the keyboard, follow these step-by-step instructions:
Step 1: Tap on the cog icon, on the main screen.
Step 2: When it opens, look for the word ‘General’ on the left hand side of screen. Tap on General, a list will appear on the right side of the screen.
Step 3: Scroll down the list with your finger until you see the words ‘Keyboard’. Tap on Keyboard.
The screen should have changed to the section where the keyboard options can be set. See below.

Step 4: Tap on Keyboards to see a selection of languages, more than one can be chosen.
Step 5: To switch between the different keyboards while you are typing, Tap the globe symbol which is on the same row as the ‘space bar’ on the keyboard.
Step 6: To return to the home screens where the icons are, press the home button once on the edge of the iPad screen.
External
If you plan to send lots of messages with an iPad, create reports or letters then an external keyboard can be better to use than an onscreen keyboard.
The keyboard is not attached to the iPad with a connecting wire as the iPad has no facility for this. Instead, the keyboard connects wirelessly through a method called ‘Bluetooth’.
The keyboard is a separate and extra purchase for your iPad and will come with a wire and plug to charge it up.
When the external keyboard makes a connection with the iPad, it doesn’t completely take over from onscreen keyboard. Tapping, scrolling and pinching will still be required, and the features mentioned in ‘Onscreen’ section above are available.
Apple produces its own wireless Bluetooth keyboard, but you may want to look at other keyboard manufactures, who state their product is compatible with an iPad.
Follow these step-by-step instructions to connect an iPad keyboard using Bluetooth
Step 1: Make sure the keyboard connecting to the iPad to is fully charged and switched on.
Step 2: Turn on the iPad and then tap the cog icon to open settings.
Step 3: On the left hand side of the screen, look for the word ‘Bluetooth’ then tap.
Step 4: On the right had side of the screen turn ‘Bluetooth’ on by sliding your finger to the left on the control. It should turn green.
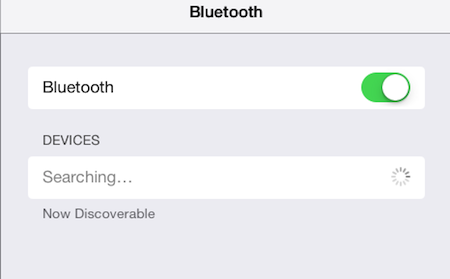
Step 5: Watch the iPad search for your keyboard, when it has been found by the iPad, the name of your keyboard will appear.
Step 6: Tap on the keyboard name, this will pair the two devices, the iPad and he keyboard.
Step 7: The word ‘connected’ should now be displayed and keyboard is now ready to use.
Sometimes, the keyboard and the iPad do not pair up first time, so switch both devices on and off and try again. Occasionally the connection will require resetting.
Lynne Thompson is a Digital Unite tutor, Digital Champion and a tutor-assessor for the Digital Unite Academy.