


There are several ways to interact on Facebook beyond just having your own personal profile. The two main ways are via a Page (see our guide on creating a page on Facebook) or as a Group.
A Group is usually created to discuss or share information with people with similar interests. For instance you might want to start a group to organise a school reunion but do not necessarily have all the people you want to invite in your friends list. If you create a group with the name of the school (and sometimes possibly the years you attended) people will find it as they search for things that interest them.
There are three types of Facebook Groups:-
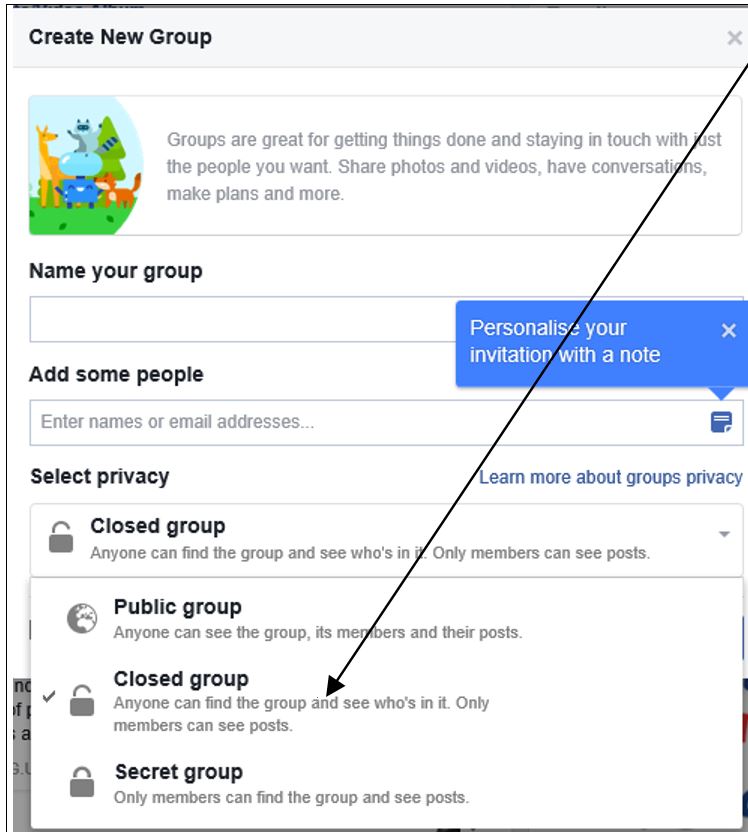
1. Closed (which is the default setting). Only the people invited by the group members can join.
2. Secret, a group that can only be seen by those belonging to the group. This is often used for members of committees and similar so they can hold online meetings without information becoming public.
3. Public, anyone can join the group and start posting
This guide will show you how to create a group on Facebook. Firstly, think about why you are starting the group. Do you want to monitor who you allow onto the group by asking them to seek permission to join (this gives you an opportunity to look at their profile) this is particularly useful if you are starting a group that has strict criteria.
If your group is intended to be used as a forum for sharing information, for instance a group for owners of certain types of vehicle, this will allow people to join and share without being bombarded with advertising or spam type posts.
Step 1: Create a group
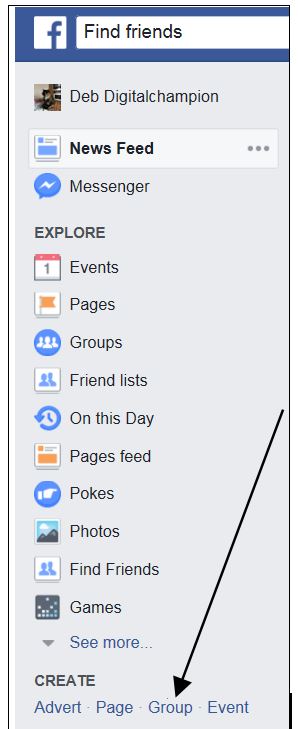
On your Profile page on the left hand menu bar click on Create Group.
Part 2: Naming your group and filling in the details
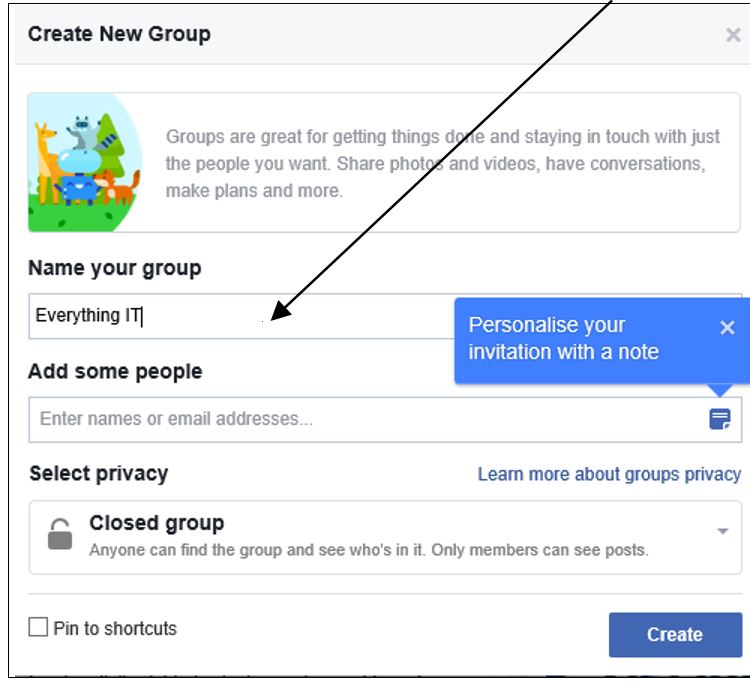
A new window will open for you to start filling in details of your group.
The first thing is to give the Group a name. Unless you are intending creating a Secret Group then it is important that the name reflects what the group is about and is easy for people to find. For instance if it is a vehicle owners group you would need to add the vehicle name!
Next select whether you want the Group to be Closed, Public or Secret. The default is Closed.
Part 3: Add members to your group
Next you can invite people who you think would enjoy the group or have something to offer to members. Click in the box 'Add some people' and type in the name of the person that you want to invite. Please note that you cannot create a Group without at least one member!
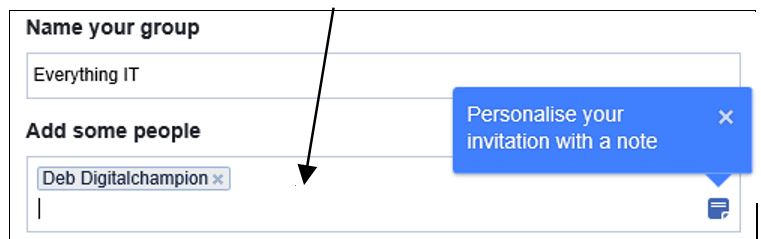
You can also add a personalised message with the invitation that gives them an idea why you are inviting them to join.

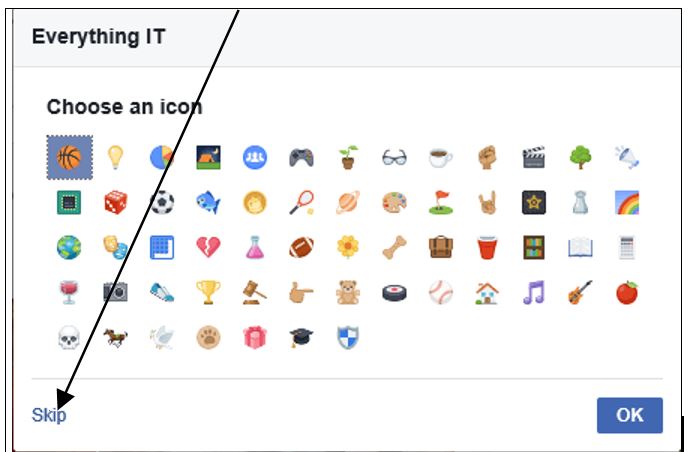
When you have done all of these things click Create. You will be offered the chance to add an icon. If there is one that suits the purpose of your Group then select if not then click on Skip and continue.
Part 4: Choose a photo
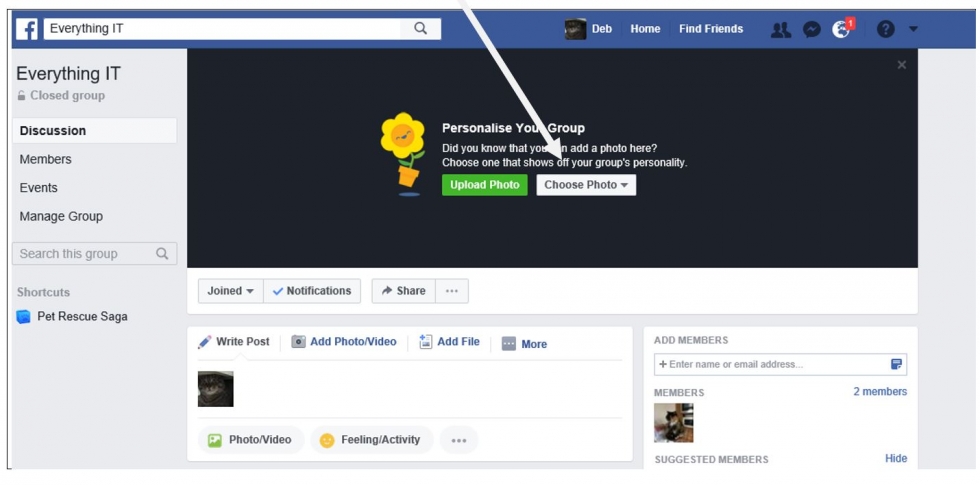
Your Group is now created and available for Facebook users to see. It is a good idea to personalise so it looks more appealing and for people to see at a glance what it is put there for. To do this click on either Upload Photo or Choose Photo (this is using an existing photo from your Facebook profile).
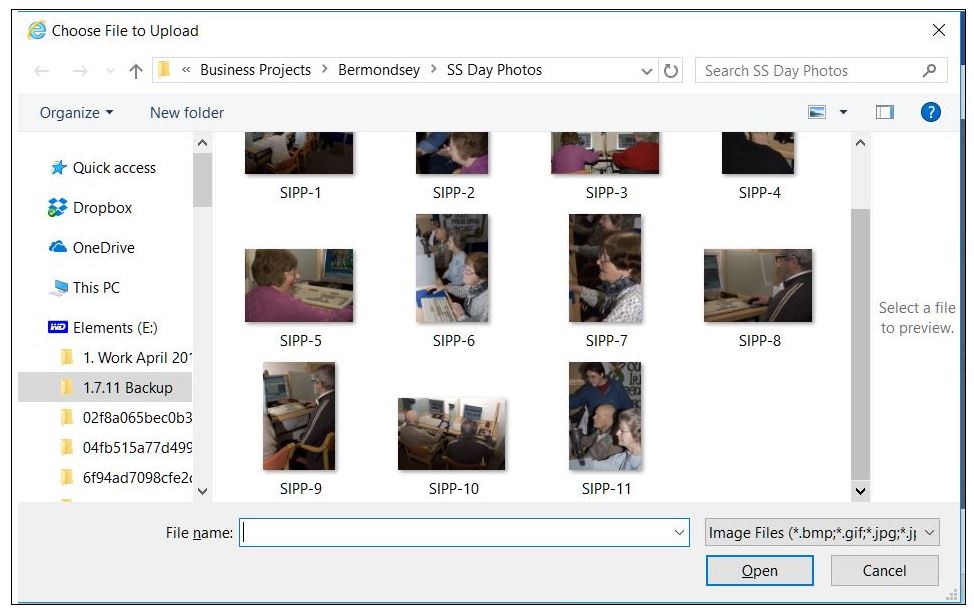
If you choose Upload Photo a new window will open directing you to where you store photos on your computer. Click on the image you would like to use.
Part 5: Reposition your photo
The image will appear in the window with an option to move it within the frame so that it shows the parts that are most important to you. Click and hold down the image when you see a message that says Drag to Reposition.
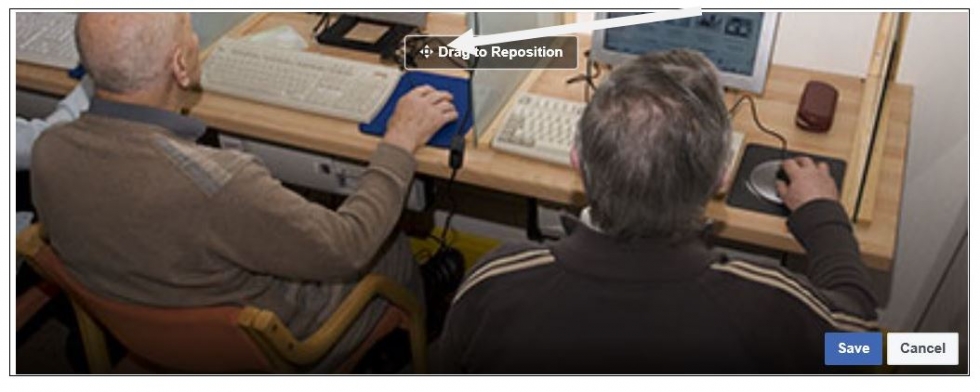
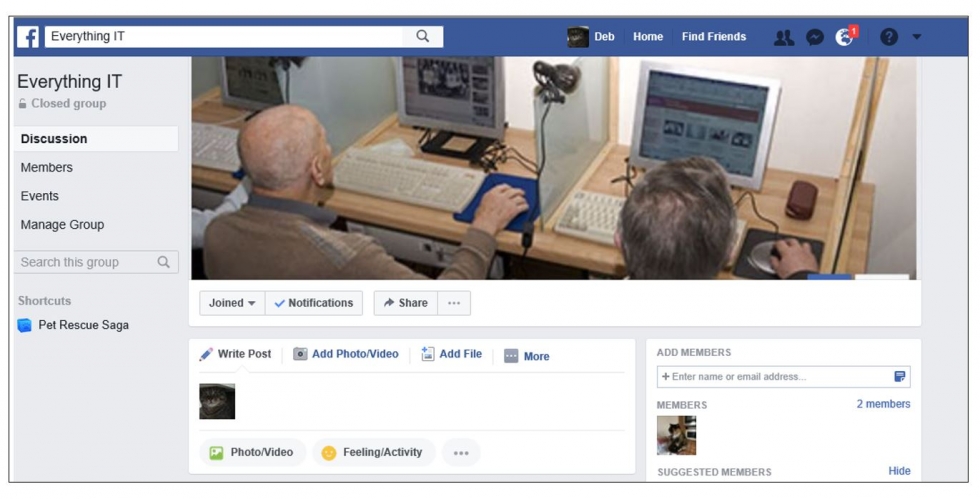
In this case the image concentrates more on the monitors in front of the learners rather than on the back of their heads! Once you have your photographs as you want them click on Save Changes.
Part 6: Your finished group
Your finished Group will look like this. Just like your profile you have the opportunity to write posts, add photographs and create events.
You can also invite more members from your Friends and encourage Friends to also invite people. The more people you have in a group the livelier it will be.
For more Facebook guides check out our Next Steps links below.